How to Make Your Own Stretch Bracelet!
If you’re new to making your own jewelry, a wonderful place to start is with a simple stretch bracelet. Stretch bracelets are easy to wear and easy to make! Plus, they’re the perfect projects to help you learn beading basics. In this post, we’re going to teach you how to make your own stretch bracelet. All you need are your favourite beads and some beading elastic to make a personalized bracelet for anyone. And remember to stay to the end, our experts have some advanced techniques to show you ways to take your stretch bracelet to the next level.
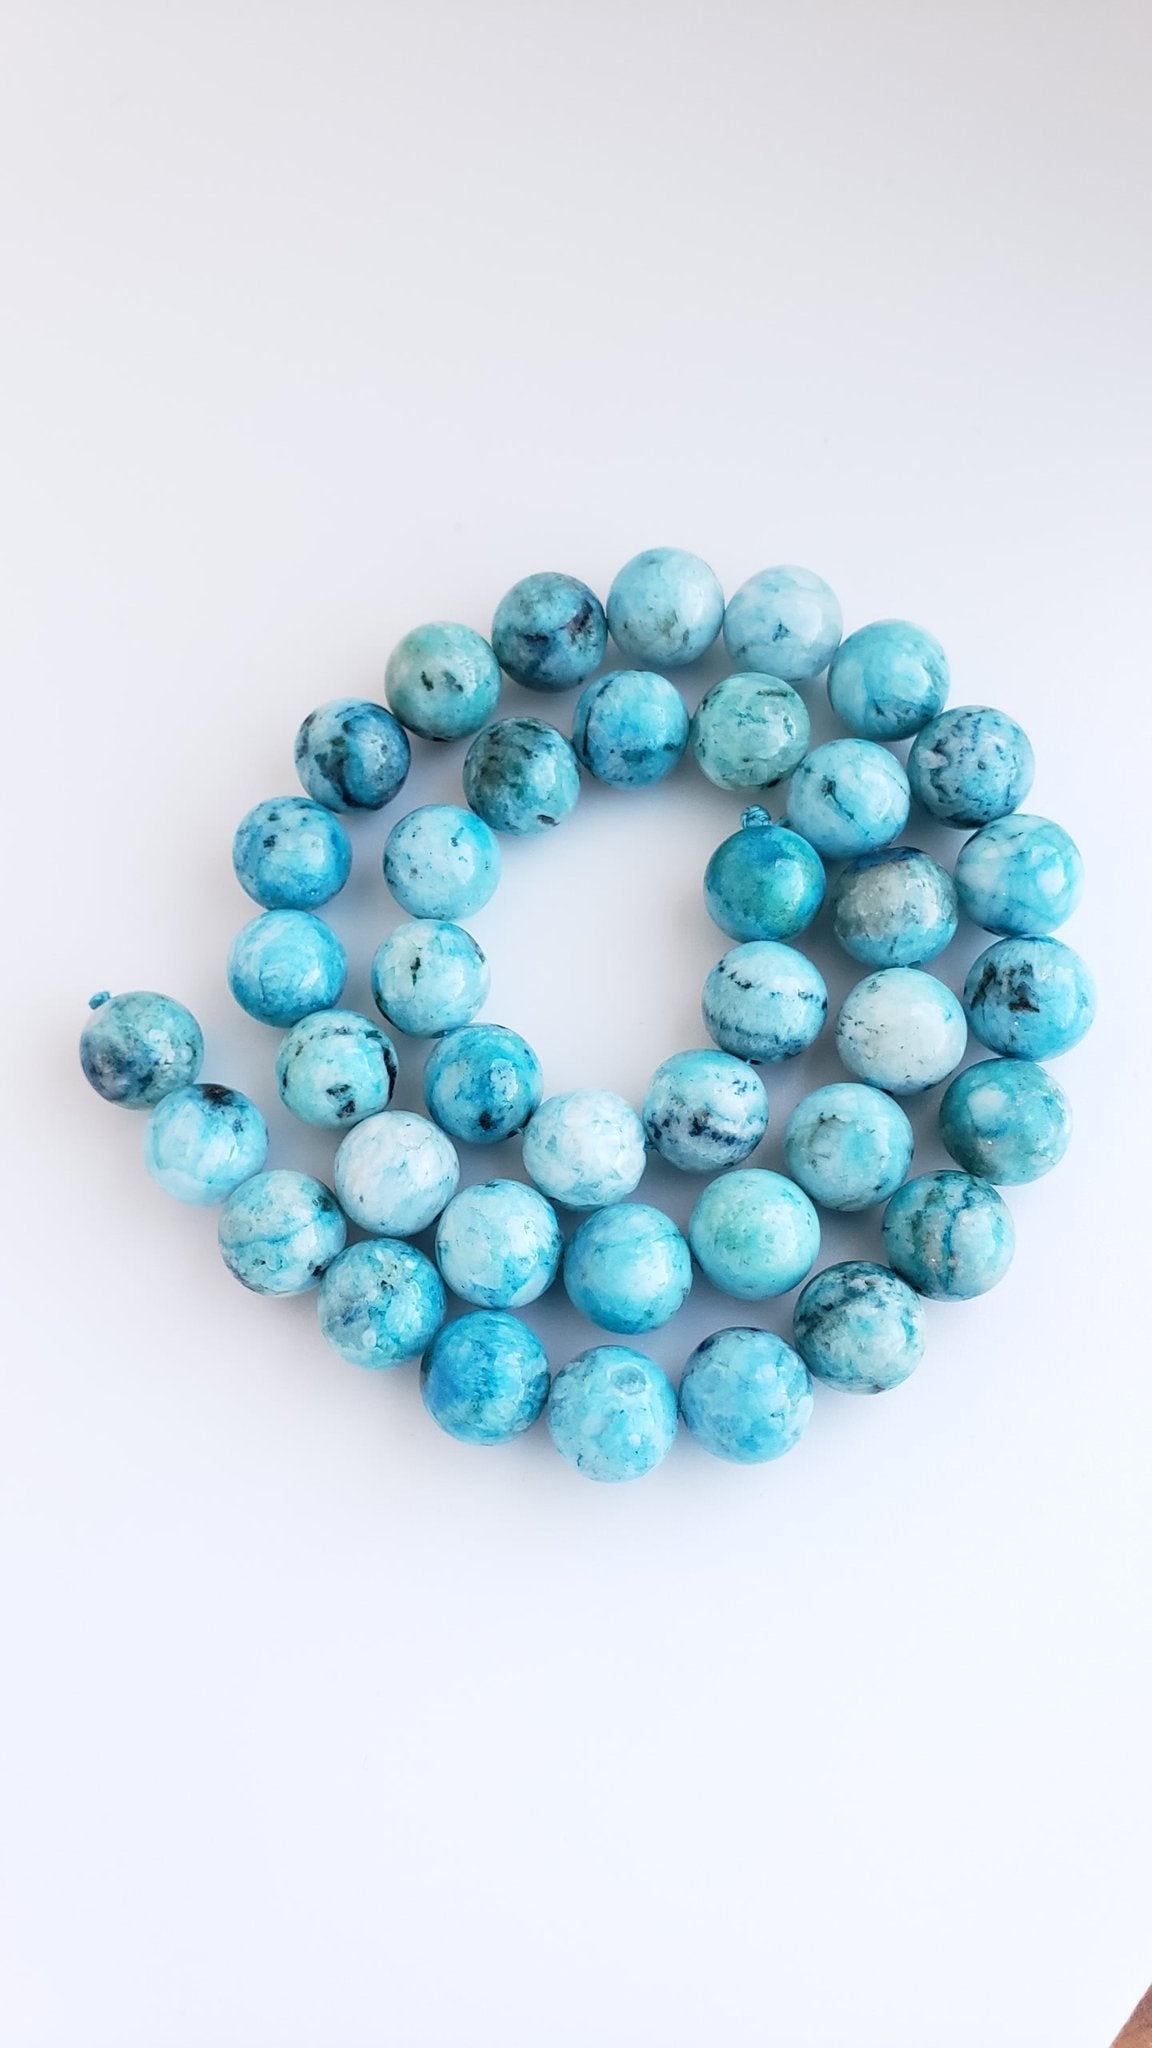
For this project, you’ll need:
- Beads! Stone, glass, pewter, wood, anything. We always have our popular gemstone beads on sale if you’re looking for something new.
- Small spacer beads (optional)
- A focal bead
- Super glue
- Beading elastic
0.5mm elastic is best used with beads that have very small holes. You’ll probably use 0.7 or 0.8mm elastic and will work for most beads and jewelry. 1mm elastic is only for the heavy, chunky beads that need it.
Here is our bestseller, 0.7mm elastic from Stretch Magic. It’s our favourite!
How to make your own stretch bracelet!
Are you just beginning your beading obsession? Don’t worry! Here’s a helpful video tutorial from Crafty Owl Café that shows you the basic techniques and steps. Now, let’s get beading!
1. Start by measuring your wrist.
Use a flexible measuring tape to measure around your wrist. Make sure you measure underneath your wrist bone! Add 1 inch to your measurement, and that’s the length of your new bracelet.
2. Lay out your beads.
Use a bead board to lay out your beads in the pattern you want. Otherwise, put your measuring tape on top of a cloth so your beads don’t roll away and lay out your bracelet pattern there. Place your largest bead at the end.
3. Cut your elastic.
Tie a “stop” bead at one end. It doesn’t have to be pretty, you’ll cut it off later. Then, cut your elastic to the right length.
4. Thread your beads onto your elastic.
Remember to check the length when you’re done!
5. Knot the elastic 3 times.
Pull those knots hard! For an expert finish, dab a tiny bit of superglue onto
the knot and hold it until it dries. Then, hide the bracelet knot inside the focus bead for a neat finish.
6. Enjoy your new stretch bracelet!
4 ways to bring your stretch bracelet to the next level
1. Use Lava Beads as Essential Oil Diffusers
Lava beads are made of volcanic rock. Because of that, lava beads are very porous and can easily become essential oil diffusers. Just add a single drop of oil onto your lava bead and let it absorb for a few minutes. Check out this helpful tutorial from our friend, The Beading Gem, on how to incorporate the power of essential oils into your stretch bracelets!

2. Make an Easy Mala Style Stretch Bracelet
Check out this tutorial from Collective Container Yoga on how to make a mala style bracelet. She even goes the extra step and shows how to make and attach a charming tassel to your bracelet.

3. Add Advanced Beadwork instead of a Focal/Guru Bead
Once you’ve mastered simple stretch bracelets, try adding advanced beadwork around your bracelet instead of a focal bead. The Beading Gem has a tutorial to walk you through this advanced technique step by step. Warning, you better be up to date on your knots!
4. Still Not Challenged? Try Adding a Bead Cluster to your Bracelet!
For this advanced technique, you’ll need to get some wire and round nose pliers, like this one from our bestsellers list, in order to loop the beads together. Since this is a more difficult project, check out this tutorial from The Bead Gallery for an easy to follow visual guide on making bead clusters.
We hope our instructions on how to make your own easy stretch bracelet help you make beautiful jewelry, and we hope it’s just the start of your new beading obsession! Watch our website for future “How to” blogs on projects to keep your hands and mind busy.
Are you interested in further DIY jewelry? Check out our DIY Mala Bead Kits! Watch out, they sell out fast!
Our Jewelry Expert:

Pearl Blay a.k.a. THE BEADING GEM brings you the best in Handmade Jewelry! She’s passionate about sharing all she’s learned about being a jewelry artisan. Keep an eye out for her! Whenever possible, Pearl regularly teaches classes here at Iguana Beads.
Edited February 2021 by Sophie Dallaire